Artisanal Butter: History, Recipes, and How to Use Molds for a Perfect Presentation
A Bit of History on Artisanal Butter
Butter has been a staple food for centuries, valued for both its flavor and its versatility in the kitchen. The earliest records of butter date back over 4,000 years, from cultures that discovered that churning milk could separate the fat and create a rich, spreadable paste. Over time, butter became a symbol of traditional cooking, especially in Europe, where techniques were perfected to achieve a smooth texture and rich taste.
Today, artisanal butter has made a comeback as a high-quality product sought after by chefs and home cooks alike for its authentic flavor and unique character. And what better way to enjoy it than by giving it a special presentation using molds that make it look even more appealing!

How to Make Artisanal Butter at Home: Step-by-Step Recipe
Making artisanal butter at home is easier than it sounds. With just a few ingredients and a bit of patience, you can create your own fresh, delicious butter. Here’s a basic recipe:
Ingredients
- 500 ml (2 cups) heavy cream, preferably unpasteurized
- Salt to taste (optional)
Instructions
- Whip the cream: Churn the cream: Place the cream in a bowl and beat it with a hand mixer or food processor. It will first turn into whipped cream, and then continue separating until the fat and liquid (buttermilk) separate. This can take 5-10 minutes.
- Separate the buttermilk: Once the fat and buttermilk have separated, strain the mixture and press lightly to remove excess liquid. You can save the buttermilk for other recipes, like baking bread or making smoothies.
- Wash the butter: Rinse the butter with cold water while kneading it with a spatula or with your hands. This will help remove any remaining buttermilk, extending the butter’s shelf life.
- Salt and flavorings: Add salt to taste, or get creative with flavors. You can add fresh herbs, garlic, lemon zest, or even honey to make a flavored butter.
- Mold the butter: Now comes the fun part: shaping the butter using a traditional or silicone mold. Details on how to do this are in the next section.
Using Molds for Butter: From Traditional to Silicone Molds
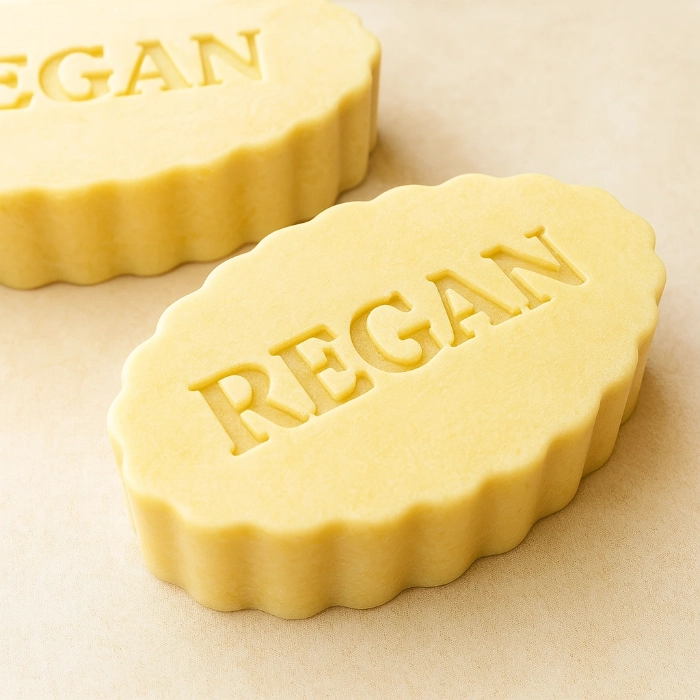
Shaping butter not only enhances its presentation but also makes it a beautiful addition to any table. Traditionally, wooden molds with carved designs were used to imprint patterns on the butter. However, silicone molds offer a modern, easy-to-use alternative, perfect for capturing fine details like logos or custom designs.
Traditional Wooden Molds
Hand-carved wooden molds have been used for centuries to shape butter. They have a rustic charm and are often engraved with geometric patterns, flowers, or symbols. However, these molds require a bit more skill, as butter can easily stick if the mold is not properly prepared. If you decide to use wooden molds, lightly moisten them before adding the butter to prevent sticking.
Silicone Molds for Butter: The Modern and Practical Alternative
Silicone molds, especially personalized molds with logos, are ideal for achieving a perfect finish. Silicone is flexible, non-stick, and allows for easy unmolding, which is essential for butter to retain the details of the design. Additionally, silicone molds are freezer-safe, which can help harden the butter quickly.
If you’re interested in purchasing personalized silicone molds for butter with your business logo, event design, or a custom pattern, you can find them in our Etsy store: https://moldesilicona.etsy.com.

How to Use Silicone Molds for Perfect Logo Butter
- Prepare the mold: If your mold is new, wash it with warm water and mild soap to remove any manufacturing residue. Make sure it’s completely dry.
- Chill the mold: For best results, chill the mold in the freezer for about 10-15 minutes before adding the butter. This will help the butter hold its shape and prevent it from melting on contact with the mold.
- Fill the mold: Place the butter in the silicone mold, pressing gently with a spatula to ensure it fills every corner and that all details of the logo or design are well defined. You can use a piping bag for greater precision.
- Smooth the surface: Once the mold is completely filled, smooth the surface with a spatula to make it even. This will also make unmolding easier.
- Refrigerate or freeze: Place the mold in the refrigerator for at least 30 minutes, or in the freezer for quicker setting. This will help the butter harden and make it easier to unmold.
- Unmold: To unmold, gently press from the back of the silicone mold. The flexibility of the silicone should allow the butter to pop out easily while retaining all the design details.
Extra Tip: If you have difficulty unmolding, run warm water over the back of the mold for a couple of seconds (without letting the water touch the butter). This will help the butter release without distorting.
Creative Ideas for Artisanal Butter with Silicone Molds
Here are a few ideas for making personalized butter and elevating your table presentation:
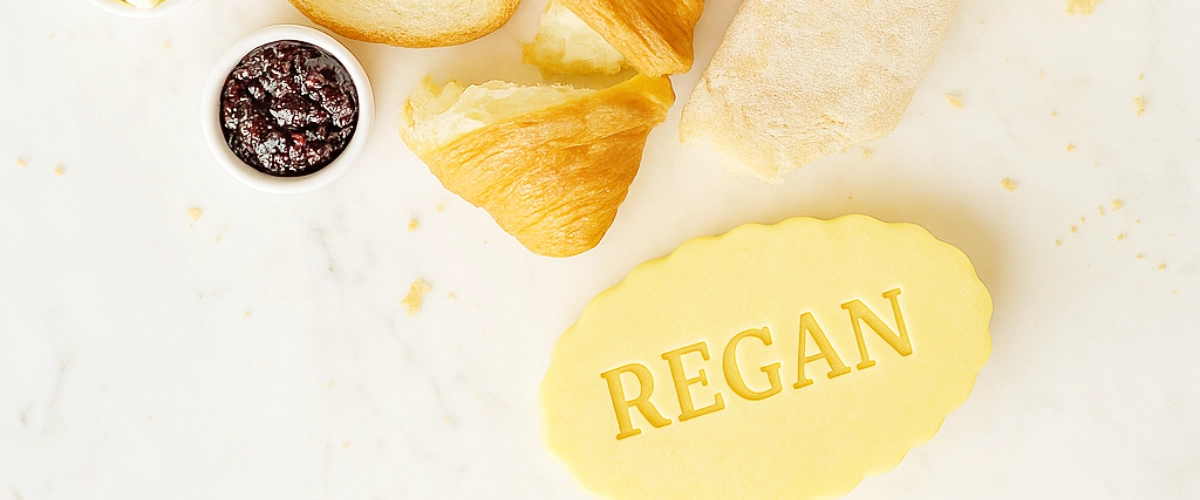
- Logo Butter: Perfect for restaurants or events where you can personalize butter with your brand’s logo or the event’s theme. This detail is ideal for creating a memorable experience.
- Flavored Butter: Make individual portions of butter with different flavors and use silicone molds with various shapes to distinguish them. For example, garlic and herb butter shaped like a leaf or honey butter shaped like a flower.
- Gourmet Gifts: Package butter in decorative shapes and offer individual portions as gifts for weddings, events, or even to sell at artisanal markets.
- Ask questions: https://moldesilicona.com/contacto/

Care Tips for Silicone Molds
Here are a few ideas for making personalized butter and elevating your table presentation:
- Always hand-wash: Although some silicone molds are dishwasher-safe, it’s better to wash them by hand with warm water and mild soap to preserve their flexibility and prevent them from absorbing odors.
- Dry them well: Make sure they are completely dry before storing, as moisture can damage the silicone over time.
- Avoid sharp utensils: Don’t use knives or sharp objects in silicone molds, as they can tear and lose their non-stick properties.
Conclusion
Artisanal butter is much more than a basic ingredient; it’s an experience that can elevate any dish. Using molds, whether traditional wooden ones or modern silicone molds, adds a special touch to the presentation and makes the butter look even more delicious. With these steps and tips, you’ll be able to create personalized butter portions, perfect for a gourmet presentation on any occasion.
Remember, you can get your own personalized butter molds in our Etsy store: https://moldesilicona.etsy.comExplore your creativity and add a professional touch to every dish!